Verifying the installation
There are some final steps to be done after installing Woof! and configuring the Web server as described in previous sections.
Verifying the installation
Once the installation steps specific to your configuration have been done, you can verify that the installation has been successful by browsing to the appropriate URL. For the BowWow server, the URL will be http://localhost:8015; for other servers the URL will depend on how the server has been configured.
A successful installation will bring up a page similar to the one below.
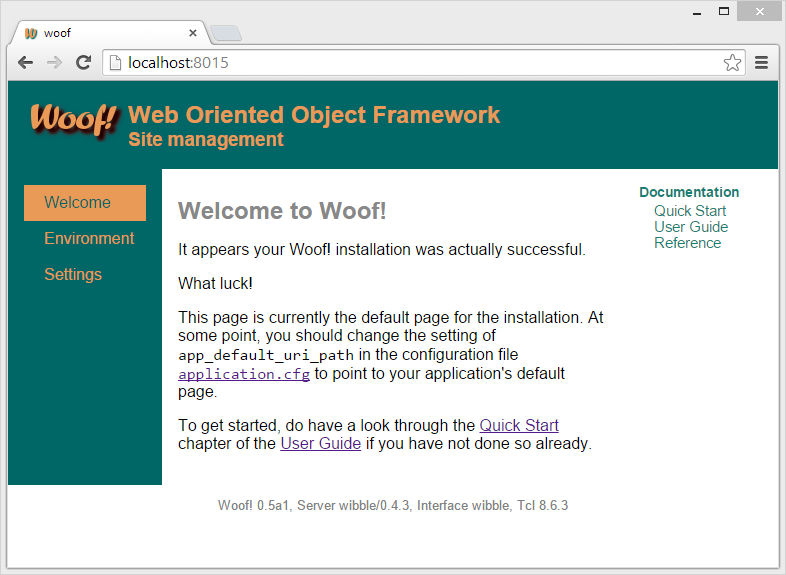
If you do not see this page, see the installation log in the directory where you installed Woof! for any errors. If nothing obvious shows there, refer to the Troubleshooting chapter for help.
Additional steps before going live
There are some additional steps you need to take once you are ready to go live with your application.
Changing the default page
At some point you will want to change the default page from the one above to that of your own application. After you have created your application's default page, edit the Woof! application configuration file config/application.cfg to set the default page and other application-specific data. For example,
set app_name          "My Application"
set app_internal_name "myapp"
set app_default_uri   "/main/welcome"
where the default page corresponds to
the welcome
action method of the controller
main. Refer to the comments in the
configuration file for more details.
Switching to production mode
Before taking a site online, it should be
switched to production
mode. Woof! is by default installed in development mode
which streamlines development but is less secure and significantly
slower. Again, this is done through the configuration file:
set run_mode production